What do we mean when we talk about Retouching?
Many times our Customers and Followers make this question...here is therefore the time to tell you exactly what it is and why it is essential to know how to correctly perform a Professional Retouching!
When we speak of the Retouching - often also called Refill - we mean exactly the Maintenance that Nails Extension requires: during weeks the Natural Nail continues to grow and the Extended part with the Gel Nails moves away from the Cuticles area...exactly as it happens to the hair with the dye!
When growth appears unaesthetic and the Extended Nails show the first signs of yielding, it is time to do the Retouching or Refill, generally about after 3-4 weeks.
The exact period varies according the different times of Growth and according the good care of the Customer at home, but the average period that we recommend is precisely 3-4 weeks to avoid that the "stress point" and the Bead of the Extended Nail (and therefore the weight of the Gel itself) are excessively projected toward the tip of the Nail, so unbalancing the balance of the structure of our Extension and thus compromising the Seal of the work causing cracks, loosening, etc.
During the Retouching the customer may decide to modify the Shape, Color and Works created in the previous appointment without any problem: contrary to what we could mistakenly think of the word Refill, in fact, the Gel is almost entirely eliminated to then proceed according to the requests of the Customer.
But Let's See together what are the Stages of a Professional Retouching!
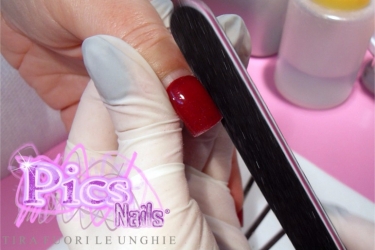
The first working Step consists in the observation of the Customer's Extended Nail: in fact, it will be necessary to evaluate the "conditions" of the Nail and then proceed working first on the sides with the aid of a Straight Nail File.
Spent the 3/4 weeks of growth, in fact, it is very likely that the Nail loses its beautiful original shape or suffered some damage caused by poor house maintenance of the Customer or by the normal use of the Hands!
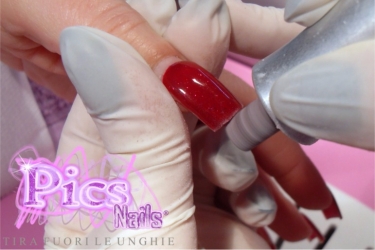
Obviously, arrived at this point, it may be necessary to Shorten the Extended Nail, until obtaining again the length desired by our Customer!
In this case we can proceed with the aid of a Straight Nail File or with the aid of a Nail Drill with Sanding Bands, that will facilitate and accelerate our work!
Please note that the use of the Nail Drill is recommended only for those who already have a good manual dexterity and a sufficient experience!
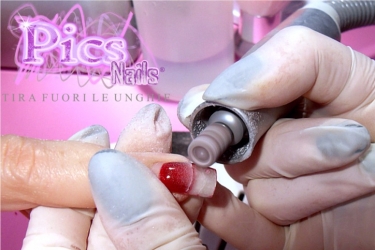
Once obtained the desired Shape and Length for our Nail it is possible to proceed with the Removal of the old job!
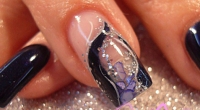
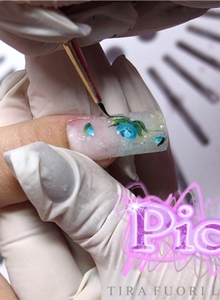
The advantage of a Professional Refill is precisely this: the possibility of totally messing up the Extension, going to create a totally different job from the previous one...exaclty as in the photos that we show you in this Page!
This is why generally a Retouching carried out correctly takes approximately 1 hour and a half of work for a skilled Nail Technician!
Also during this Stage you should remember to pay extreme attention with the Nail Drill, gently removing the Gel Nails Color and Builder Gel avoiding unnecessary pressure on the surface of the Nail!
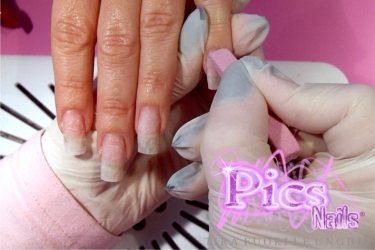
Once the step of Gel Nails Removal is fully completed, we can eliminate any filling residual, dusting the fingers and the hand with the aid of a Fan Nail Art Brush...and now our Nail surface is ready for a new Extension !
Let's start over, therefore, our Work afresh just as you would for a normal Nails Extension..Starting therefore from the Preparation Phase: we roughen the Nail Surface with our Stone Nail File for Preparation for make it ready to effectively capture the Gel that we will use!
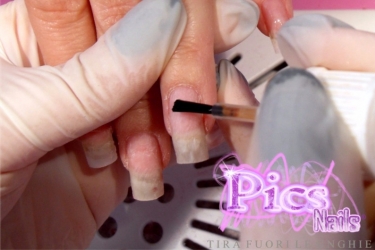
We degrease our nail surface to eliminate any traces of impurities and moisture with the help of a cotton pads soaked in Nail Cleaner...and proceed with the Application of the Nail Primer!
We Coat a thin layer of Primer on the Nail- the specific Promoter of Adhesion liquid- and leave it dry to air for a few seconds, reminding to avoid contact with any other product.
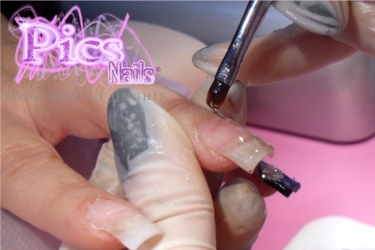
We proceed our Nails Extension by applying the Uv Builder Gel, to recreate the Bead and give to the Nail a flawless and natural appearance!
With the aid of a Gel Nail Brush of 4mm, we get the right amount of Builder Gel and create a small ball of product with small circular movements.
We place the ball of Gel in the center of the nail surface and we uniformly coat the Gel over the whole Nail: we start from the center and move on the Cuticles area, then we proceed on the outside and inside of the nail and, finally, the free edge.
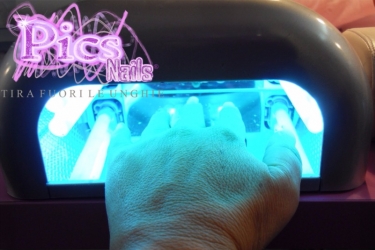
At this point, we can fix and dry our Gel leaving Catalyze in UV or LED Lamp.
In order to avoid a painful feeling of heat on the natural nail, we always recommend to insert and remove your hand from the Lamp at intervals of about 2 seconds.
In the 2 seconds when the hand is outside the Lamp, moreover, it is appropriate to turn over the palm of the hand upwards, to avoid that the Gel casts ruining our work done so far!
Once the stage of Catalysis is concluded, we degrease the nail surface with our cotton pads soaked in Nail Cleaner to remove the normal Sticky Dispersion Layer which is created after the passage in the Lamp.
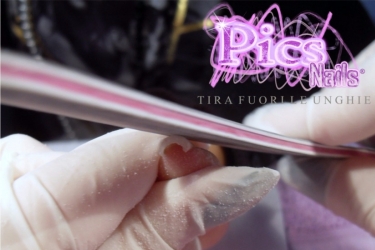
It is now finally time to work on the Gel for shaping the Nail and donate a Natural and Perfect appearance!
To perfect the Length and the two Sides we use a Straight Nail File Grit 80/80, working first on the Length and subsequently on the two Sides of the Nail.
At this point, with the aid of a Curved Nail File Zebra, we work on the Bead of the Gel, eliminating any excess product.
Also in this case, the most expert will be able to use a Nail Drill, working on the surface of the Gel with speed and precision!
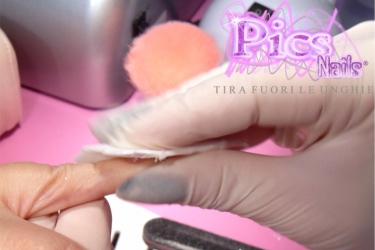
Once again, we Dust our Nails and Hand to remove any residual dust created during the phase of Filling, using a Nail Cleaning Brush.
After, with the aid of the Nail Cleaner we degrease the Nail to prepare it for the application of the Gel Nails Color chosen for our Work!
As we said, the advantage of a Retouching consists precisely in the possibility of giving life to a new completely different job from the previous one..go ahead therefore to all your creativity!
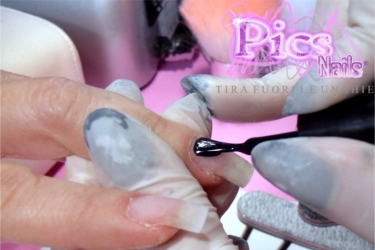
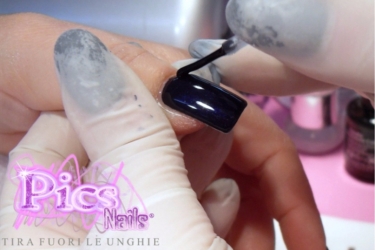
In this case, our Customer - who before had a Gel Nails Extension with a unique Red Color - opted for a radical change of Color...going from Red to Night Blue!
For this work we decided to use a Gel Nail Polish Color, precisely Night Blue, working with a single Color on all the Fingers of the Hand except the Ring Finger, embellished by an original and elegant Underglass Nail Art!
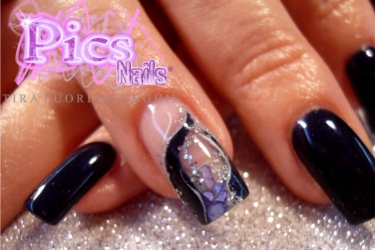
As we can see also from the last photo of the concluded work, therefore, Retouching or Refill is a very long process that requires a good knowledge of the processing steps and the necessary tools and products to give life to a new Job, also diametrically opposed to the previous one!
As always, we at Pics Nails just wanted to give you the basic information to know the subject and its characteristics in this deepening space...but we always suggest to continue with constant and professional study of every type of work with a lot of practice, to improve more and more every day!


